


Thorough preparation is key to successful DIY specialty paint applications. Correcting imperfections, priming surfaces, and meticulous sanding ensure even finishes, prevent premature fading, and guarantee durable results. Choosing the right paint type for unique project needs, like durability or color matching, is crucial. Neglecting prep steps can lead to issues, while proper cleaning and priming facilitate optimal paint adhesion and quality finishes.
“Elevate your DIY projects with this guide to common pitfalls in specialty paint applications. Many enthusiasts make costly mistakes, from skimping on preparation – a crucial step – to selecting unsuitable paints for their unique surfaces. This article illuminates these blunders, offering insights into proper surface cleaning and priming techniques to ensure optimal results. Avoid these traps and unlock the potential of your creative vision with expert advice tailored for DIY specialty paint application success.”
- Skimping on Preparation: A Critical Step Overlooked
- Choosing the Wrong Paint for Your Project
- Neglecting Surface Cleaning and Priming Techniques
Skimping on Preparation: A Critical Step Overlooked
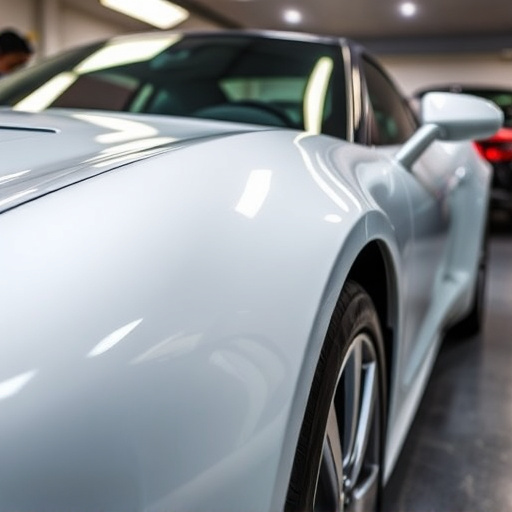
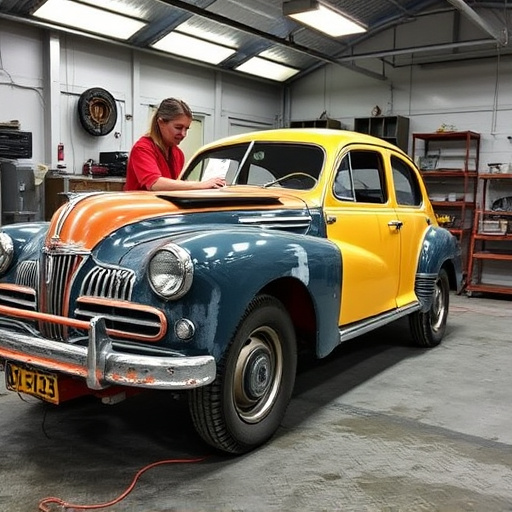
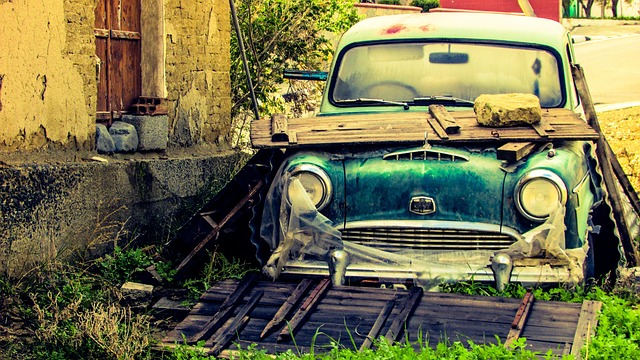
The success of any DIY specialty paint application hinges on a crucial step often overlooked: thorough preparation. Many enthusiasts rush into the painting process, assuming a smooth surface will yield professional results. However, this is a common mistake that can lead to uneven finishes, visible brush strokes, and premature fading. A meticulous frame straightening and surface sanding are essential to achieving a flawless outcome, ensuring your paint adheres properly and creates a durable barrier.
Remember, preparation isn’t just about removing the old finish; it involves correcting any imperfections, filling gaps, and priming the surface to accept new layers of paint effectively. Skimping on this step can result in costly rework later, mirroring issues seen in collision repair services where poor prep work leads to subpar results. For car paint services or specialty applications, prioritizing preparation is a game-changer, ensuring your project looks as good as new.
Choosing the Wrong Paint for Your Project
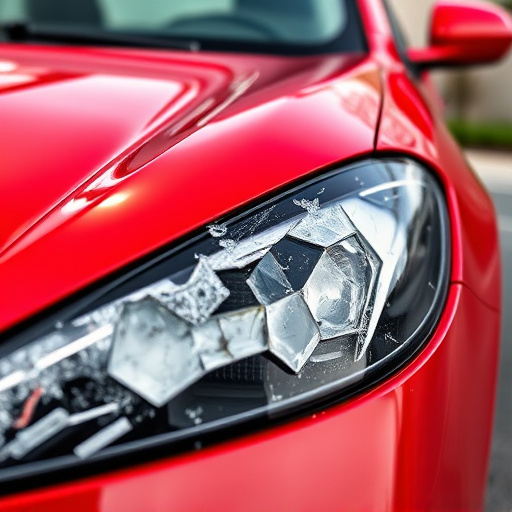
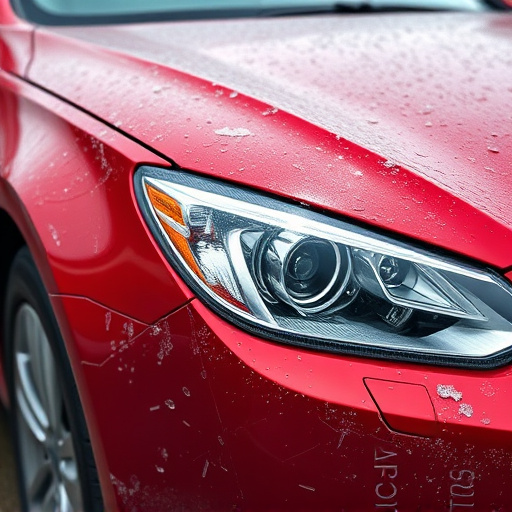
When planning a DIY specialty paint application, one common pitfall is selecting the inappropriate paint for your project. It’s akin to using a hammer when a screwdriver would do—it won’t only fail to achieve the desired result but could also cause damage. Different projects require specific types of paint designed for various surfaces and finishes. For instance, a regular latex paint might not be suitable for automotive repair, such as a Mercedes-Benz repair, where durability, resistance to chemicals, and precision in color matching are paramount. Similarly, using an interior paint on outdoor surfaces will result in peeling and chipping due to its inability to withstand the elements.
Avoiding this mistake involves understanding your project’s unique needs. If you’re handling a car damage repair or any intricate auto repair work, opt for paints formulated specifically for automotive use. These paints are designed to withstand extreme temperatures, UV exposure, and frequent washing while maintaining vibrant colors and smooth finishes. For other specialized applications, like restoring an old piece of furniture, consider historical or artisan paints that offer the right texture and longevity. Always read the labels and consult with professionals at your local auto repair shop for guidance on the best paint choices tailored to your specific DIY project.
Neglecting Surface Cleaning and Priming Techniques
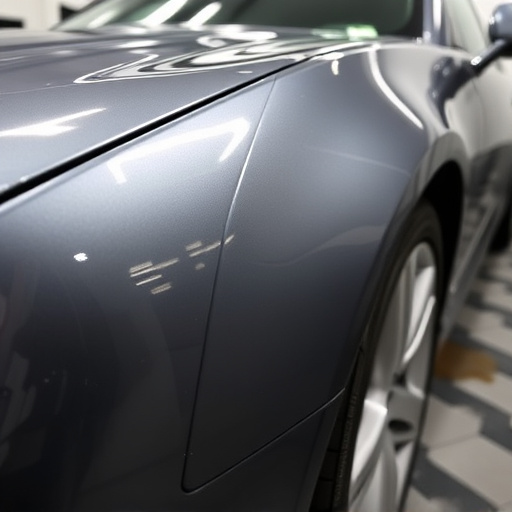
Before beginning any specialty paint application, whether it’s for a car body restoration or addressing minor car damage repairs like scratches, cleaning and priming are essential steps often overlooked by DIY enthusiasts. A thorough surface preparation is crucial to ensure the new paint adheres properly, leading to long-lasting results. Neglecting this step can result in bubbling, peeling, and an uneven finish, which is especially evident in detailed restoration projects or when aiming for a flawless car scratch repair.
Effective cleaning involves removing dust, grease, and grime from the surface. Priming, on the other hand, prepares the substrate by creating a bond between the old and new paint layers, enhancing coverage and durability. For instance, in car body restoration, proper priming can fill minor imperfections, ensuring a seamless blend with the specialty paint used for repairs or repainting. Remember that these initial steps lay the foundation for a successful DIY specialty paint application project.
When undertaking any DIY project involving specialty paint applications, awareness of common pitfalls is key to achieving professional results. Skimping on preparation, selecting unsuitable paint, and ignoring proper surface cleaning and priming can all lead to subpar finishes. Remember, a thorough understanding of these fundamental steps ensures long-lasting, visually appealing outcomes for your creative endeavors.